15 Cute Nail Ideas For 13- Year-Olds To Try This Season
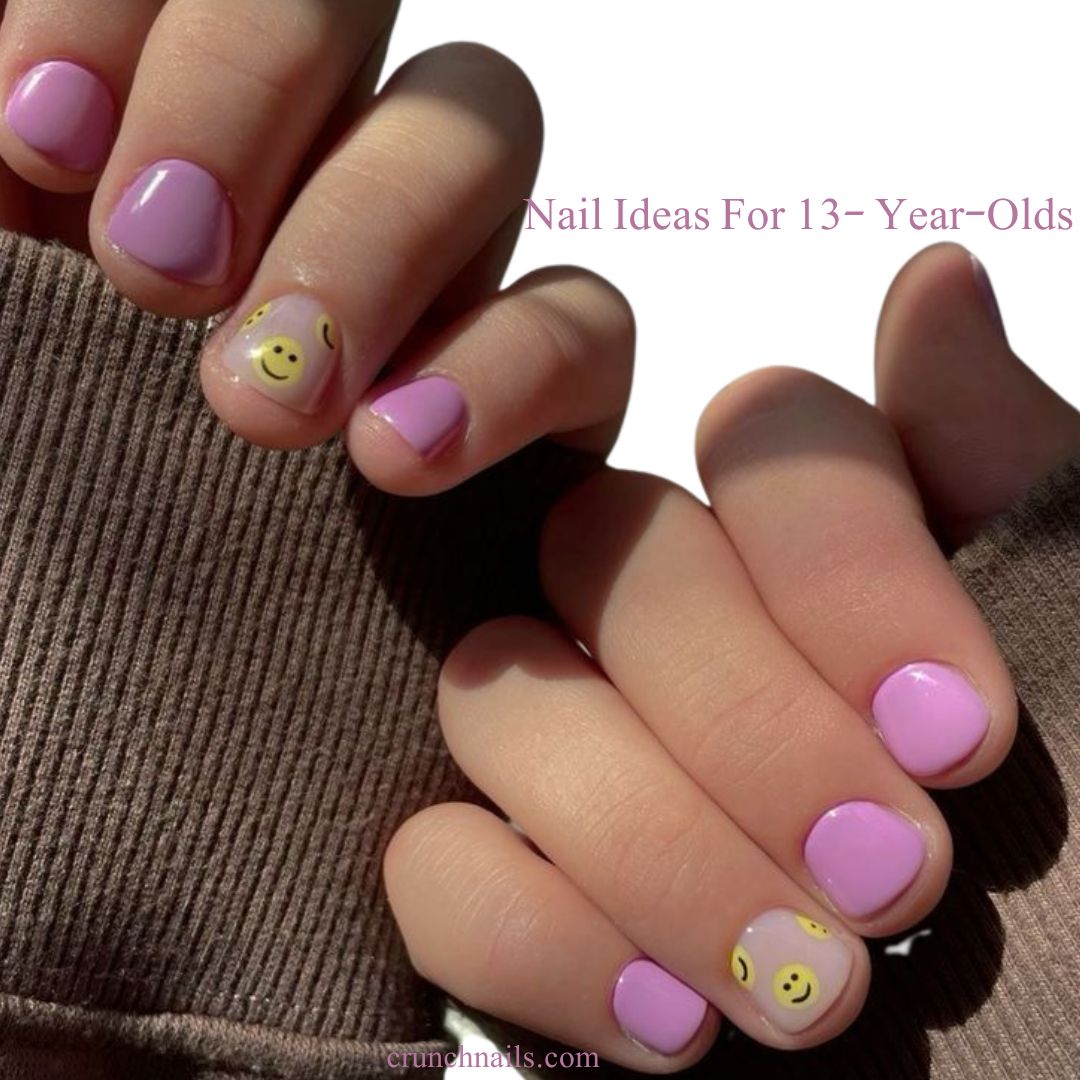
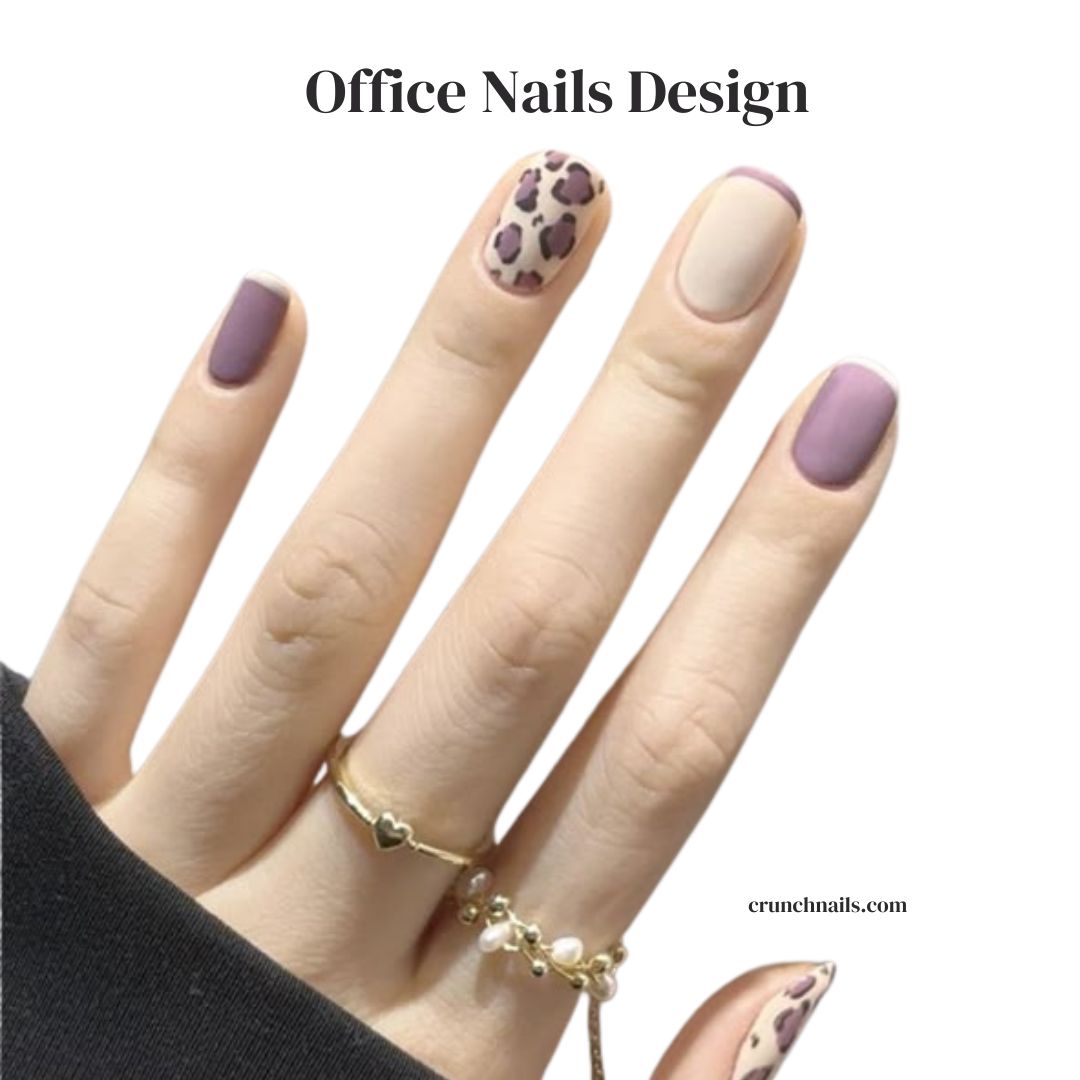
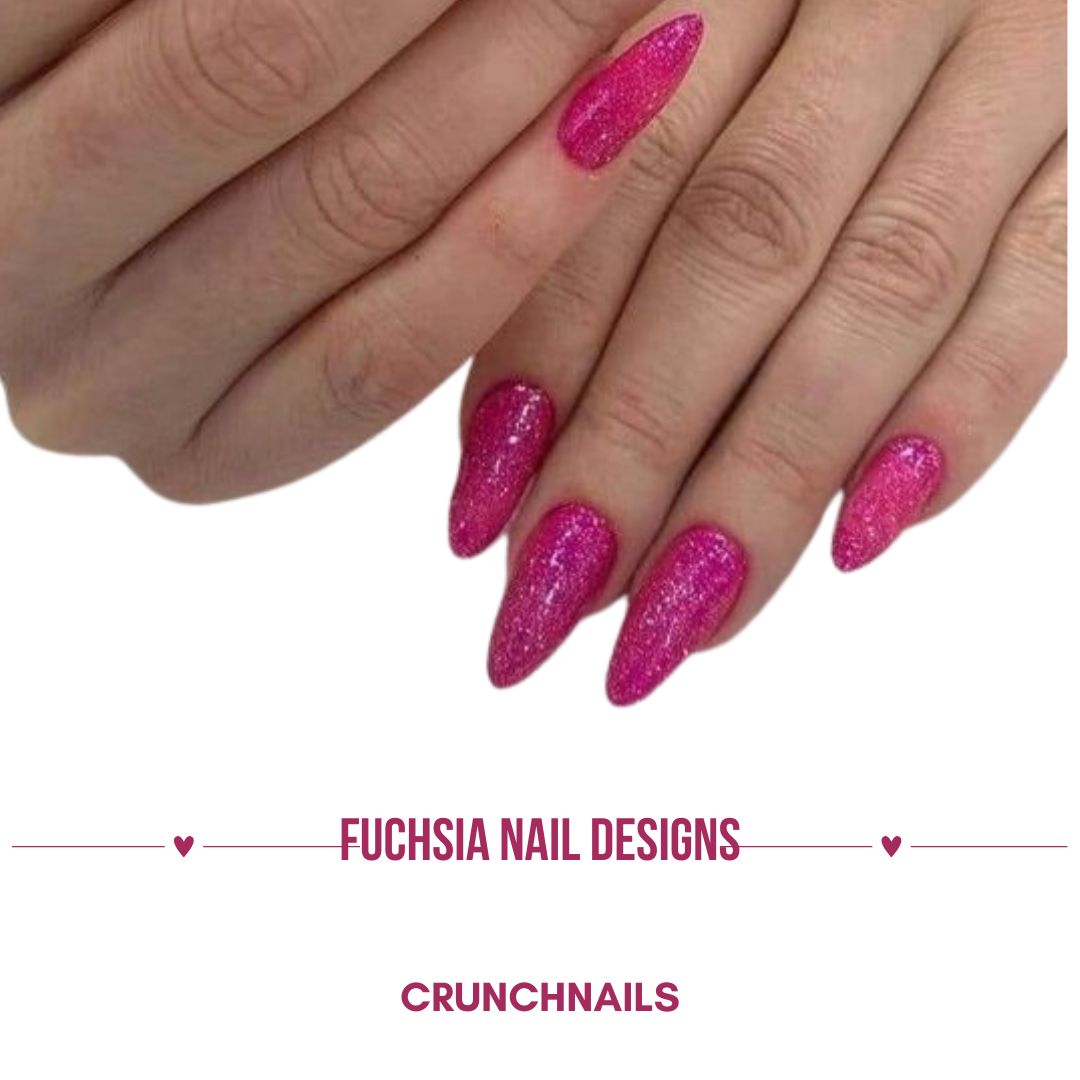
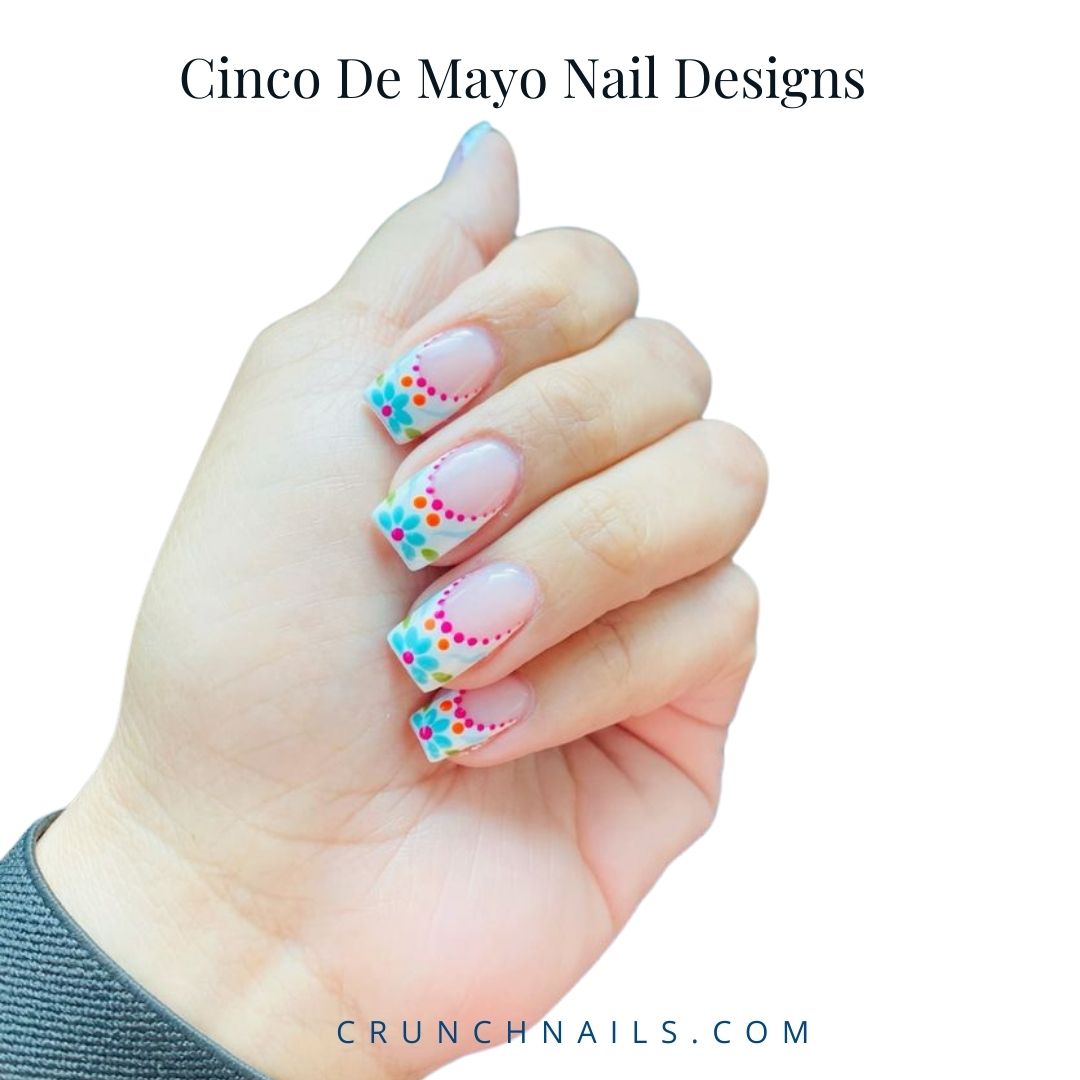
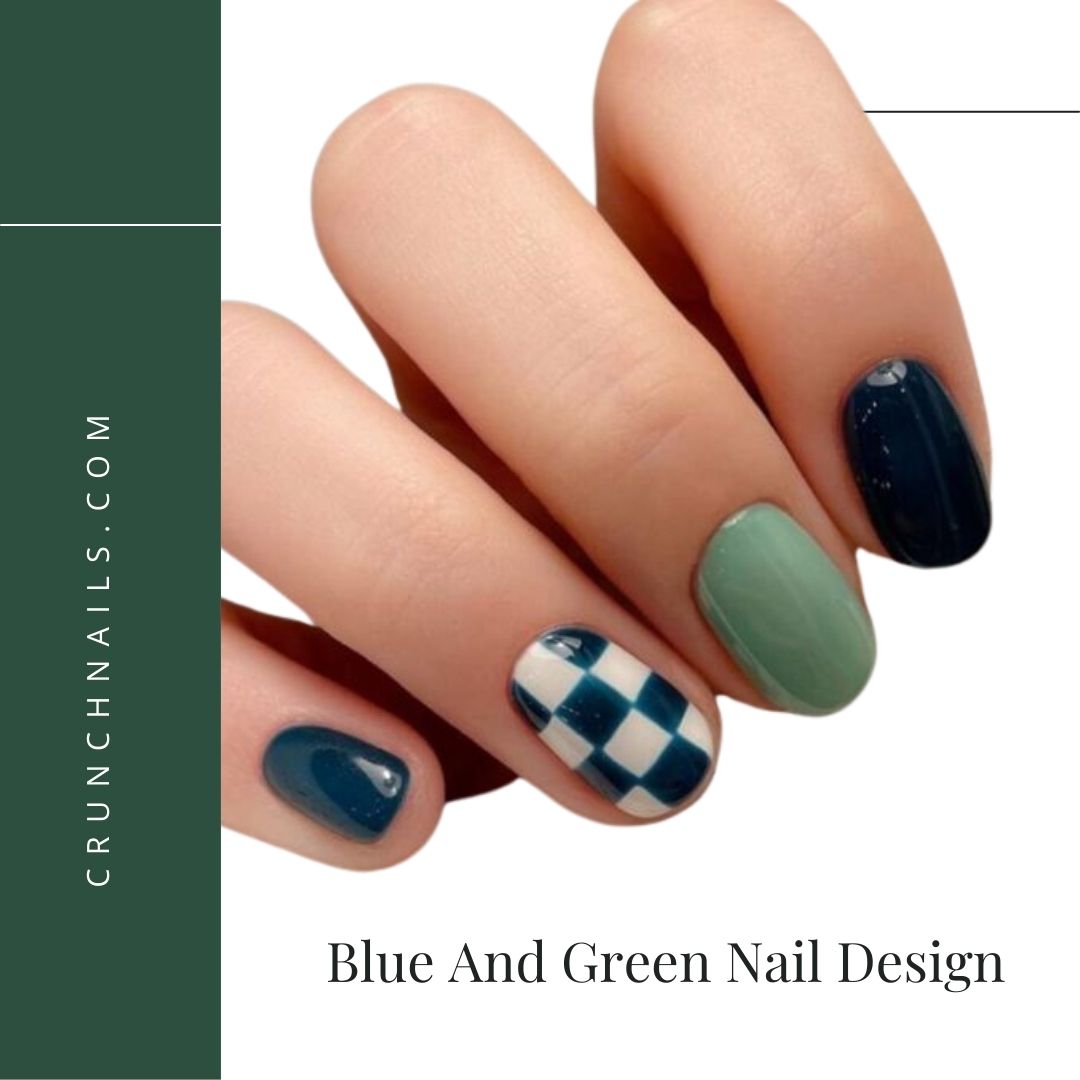
As a teenager, choosing the right nail art can be tough. At 13, you want trendy, casual, and cute designs that fit your age-appropriate style. We’ve picked some great nail ideas just for 13-year-olds. Nail Designs For 13 Year Olds For fun and creative designs, try nail polish colors like pastel pink or electric blue. Add some decoration with glitter, stickers, or nail charms. Nail ideas are all about having fun and trying new things! Keep trying until you find a look that makes you feel confident and beautiful. 15 Cute Nails For 13 Year Olds Look to beauty bloggers, fashion magazines, or your local nail salon for inspiration. With a little creativity, you can create nail art that shows off your unique style. Pastel Swirls Pastel Swirls are a great way to add a soft and playful touch to your nails. This look features swirly patterns in soft colors. It’s easy to create using pastel nail polish and a dotting tool. Glitter Ombre Love sparkly nails? Try Glitter Ombre! This look features a gradient of glitter that’s not too much. Apply a clear base coat, glitter polish, and top coat to achieve this look. Polka Dots Polka Dots are a classic and cute design that’s easy to do. Use a dotting tool and nail polish to create perfect dots. Candy Stripes Candy Stripes are fun and colorful. This look features stripes in bright, candy-inspired colors. Floral Prints Floral Prints give your nails a fresh and springtime look. Use nail stamps or stickers to create delicate flower patterns. Galaxy Nails Get ready to blast off with Galaxy Nails! These nails feature swirling space designs that are out of this world. Use nail polish and a dotting tool to create stars and planets. This look is perfect for anyone who loves cosmic beauty. Rainbow Tips Add some color to your nails with Rainbow Tips. This trend is all about adding a pop of color to the edges of your nails. It’s fun, vibrant, and perfect for anyone who loves colorful nails. Heart Accents Show some love with Heart Accents. These little heart stickers or designs are cute and adorable. They’re perfect for any occasion, whether it’s a birthday or just a regular day. Marble Effect Try the Marble Effect for a sophisticated look. This nail art trend features soft, blended colors that give off a classic vibe. It’s easy to create using nail polish and a blending tool. Sparkle French Tips Give the classic French manicure a twist with Sparkle French Tips. These sparkly tips add a touch of glamour to this timeless design. Fruit Patterns Add some fruity fun to your nails with Fruit Patterns. You can choose from watermelon, strawberries, or lemons. These vibrant and playful designs are easy to create using nail polish and stickers. Tie-Dye Nails Try Tie-Dye Nails for a bold and vibrant look. This trend is all about youthful and edgy nail art. Use nail polish and a dotting tool to create cool and trendy tie-dye patterns. Ice Cream Designs Get ready for sweet and yummy-looking Ice Cream Designs. These fun and colorful designs feature ice cream cones and are perfect for summer. Animal Prints Add a wild touch with Animal Prints. Choose from leopard spots or zebra stripes. These bold and fierce designs are perfect for anyone who loves edgy fashion. Minimalistic Designs For a more subtle look, try Minimalistic Designs. These simple and chic designs feature lines or dots. They’re perfect for anyone who loves classic and sophisticated nail art.