
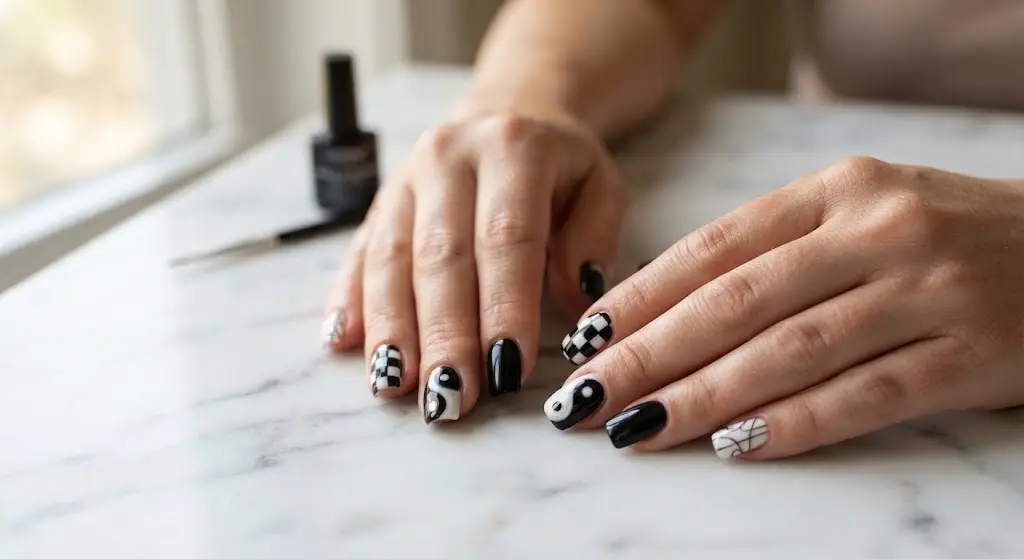
Black and White Nail Art 20 Bold Ideas You Can Wear Anywhere
Black and white nail art is a style that uses only black and white polish to make patterns, lines or shapes on your nails. It looks sharp, goes with every outfit and works on short or long nails. You can keep it simple with a few lines or go bold with a full checkerboard. Below are 20 ideas with easy steps for each one.
Why Black and White Nails Never Go Out of Style
Black and white are opposites, so they pop when they sit side by side. That strong contrast makes even a simple stripe look neat. You also do not need to match your polish to your clothes. It works with jeans, a work blazer or a party dress.
If you love dark, moody looks, you may also like our black cat nails design ideas. For a shiny twist, see our guide to cat eye nails.
What You Need Before You Start
- A sticky base coat and a shiny top coat
- One thick white polish and one rich black polish (look for ones that cover in two coats)
- A thin nail art brush or a dotting tool
- Striping tape or small stickers for straight lines
- A small brush and nail polish remover for clean-up
- A cheap makeup sponge (for marble and blended looks)
Short Nails vs. Long Nails: What Works Best?
| Nail length | Best designs | Why |
|---|---|---|
| Short | Crescent moons, piano keys, ghosts, tuxedo, stars | Small, clean designs look neat and do not feel crowded |
| Medium | Checkerboard, yin-yang, houndstooth, zebra | You have room for patterns without making them tiny |
| Long | Marble, face line art, newspaper print, lace | A bigger nail is a bigger canvas for detail |
20 Black and White Nail Art Ideas
Checkerboard Squares
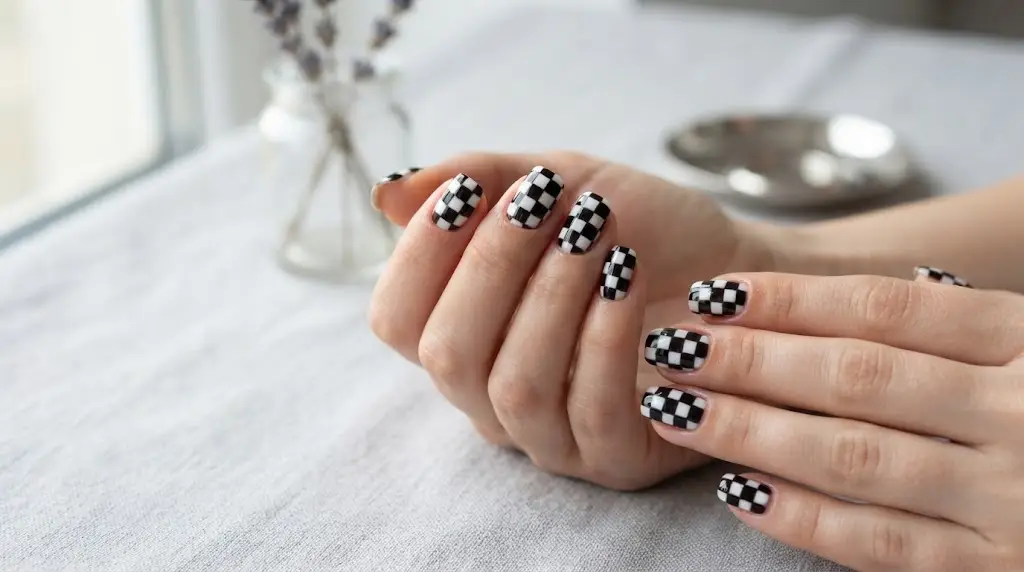
Small black and white squares in a grid give a fun retro look.
How to: Paint the whole nail white. Use striping tape or a thin brush to make a grid. Fill every other square with black. Peel the tape off while the polish is still a little wet.
Level: Medium | Best shape: Square or almond
Yin-Yang Swirl
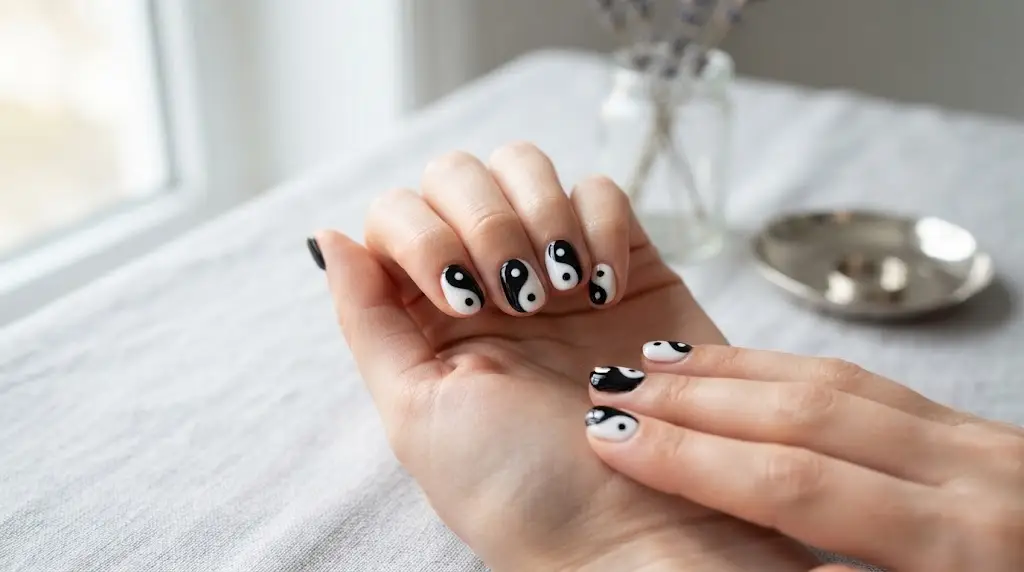
The classic round swirl shows balance, with one black half and one white half.
How to: Paint half the nail black and half white. Use a dotting tool to add a small white dot in the black side and a black dot in the white side. Add a thin curved line between the two halves.
Level: Medium | Best shape: Round or oval
Zebra Stripes
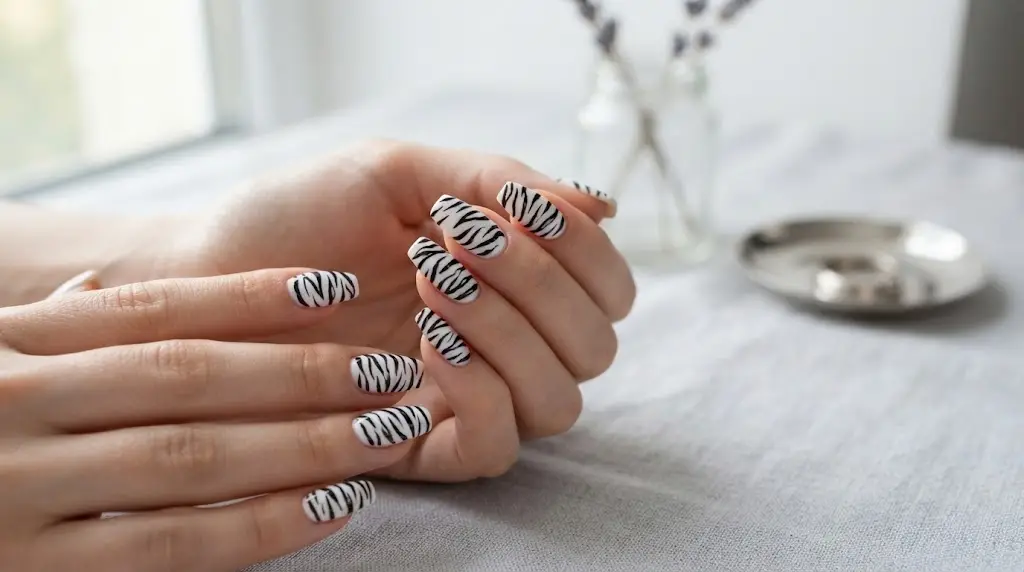
Wild, uneven stripes give a bold animal print feel.
How to: Paint a white base. With a thin brush, draw short curved black lines that taper at the ends. Leave small gaps and vary the size so it looks natural.
Level: Easy | Best shape: Coffin or almond
Newspaper Print
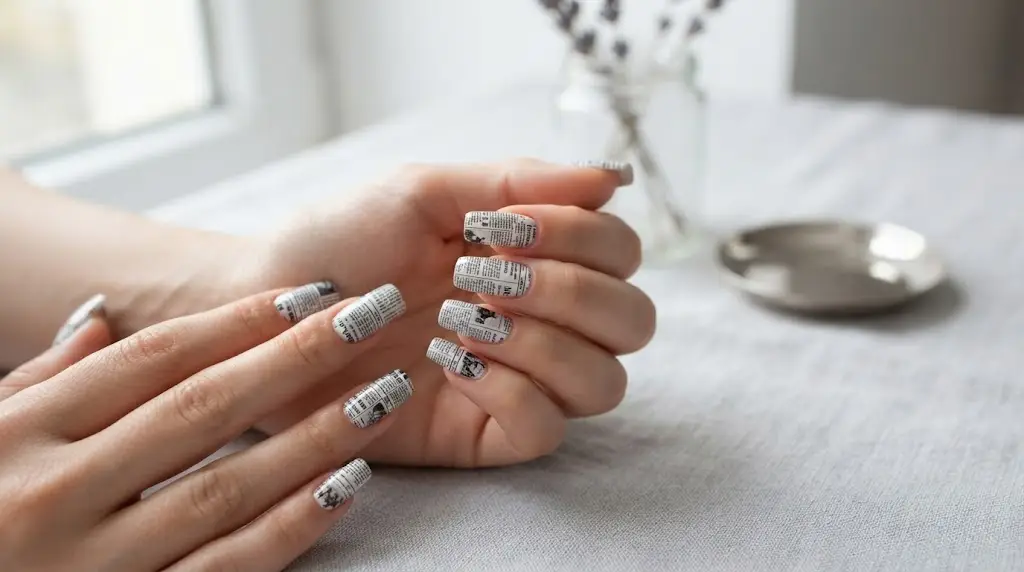
Tiny black letters on a white nail look like a page from the news.
How to: Paint your nails white and let them dry fully. Dip a clean tissue or newspaper piece in rubbing alcohol and press it on the nail for 10 seconds. Seal with a top coat. Or use a thin brush to draw small black dashes in rows.
Level: Medium | Best shape: Long square
Houndstooth
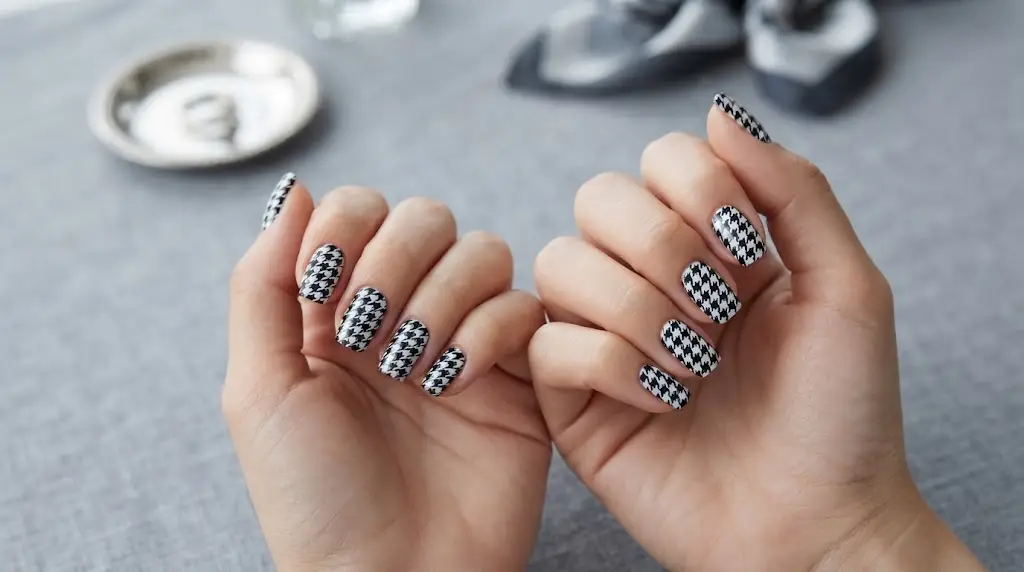
This fashion print has broken checks that look like little teeth.
How to: Start with a white base. Paint small black blocks in a checker pattern. Add tiny pointed tails on each block with a thin brush to create the “tooth” shape.
Level: Hard | Best shape: Medium square
Cow Print
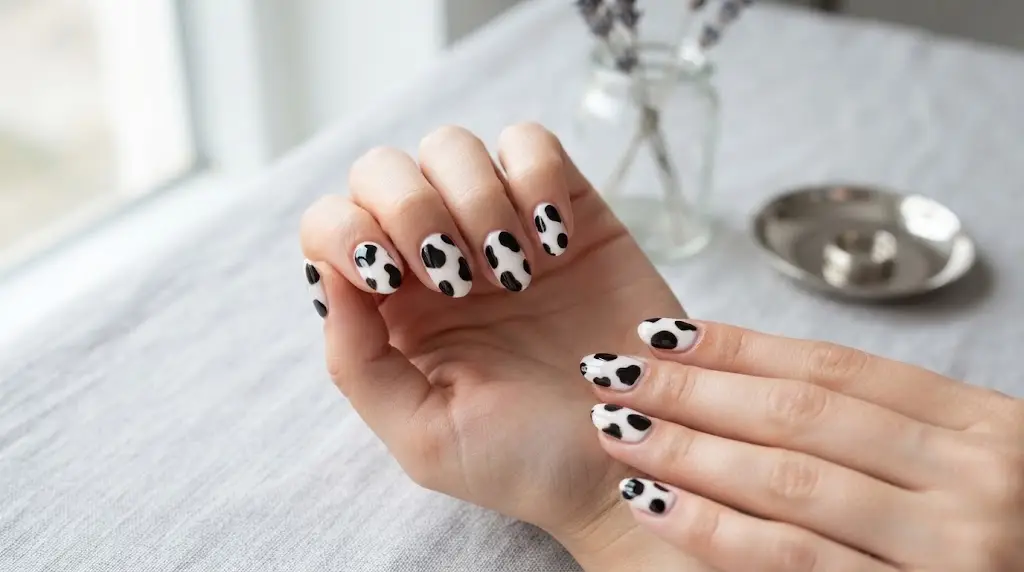
Big, uneven black patches on white are playful and easy.
How to: Paint a white base. Use a brush to draw bean-shaped black spots of different sizes. Let some touch the edge of the nail. Do not make them match from nail to nail.
Level: Easy | Best shape: Short almond
Water Marble
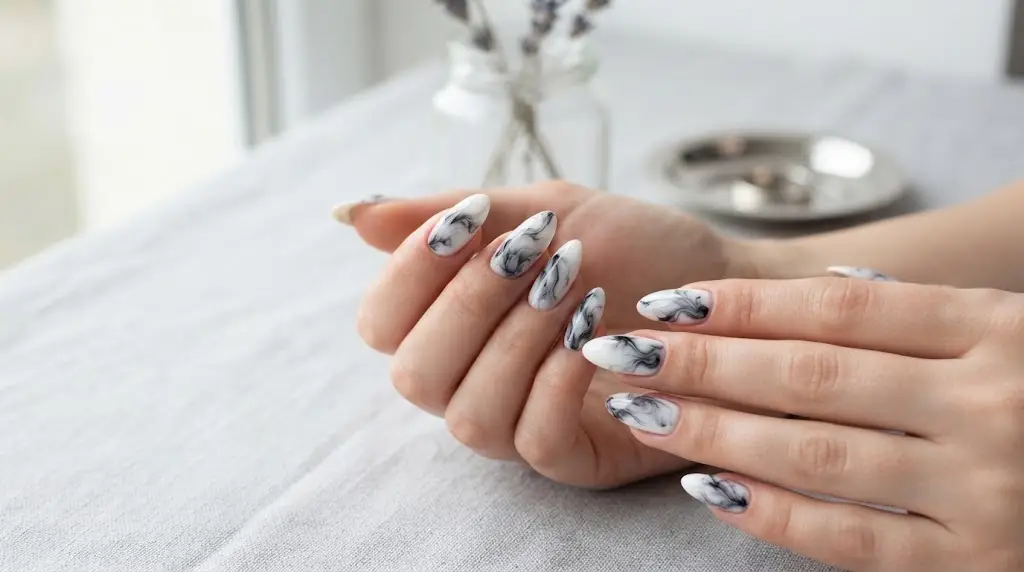
Smooth black smoke swirls move across a white nail like ink in water.
How to: Drop black and white polish into a cup of room-temperature water. Swirl with a toothpick. Dip your finger in (with tape around the skin) and lift out. Clean up and seal with a top coat. A sponge dab works if you want a simpler version.
Level: Hard | Best shape: Long almond
Crescent Moons (Negative Space)
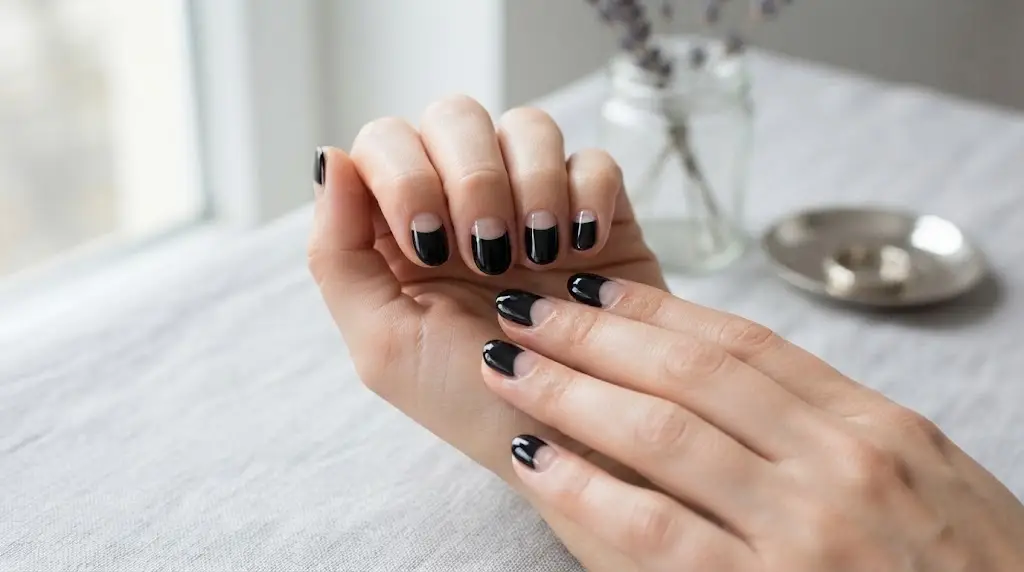
Leave part of your natural nail bare and add a black moon shape for a light, modern look.
How to: Place a curved sticker near the base of your nail. Paint black over the sticker area, then peel it off. Add a thin white line next to the moon. Finish with a top coat.
Level: Easy | Best shape: Short oval
Ink Splatter
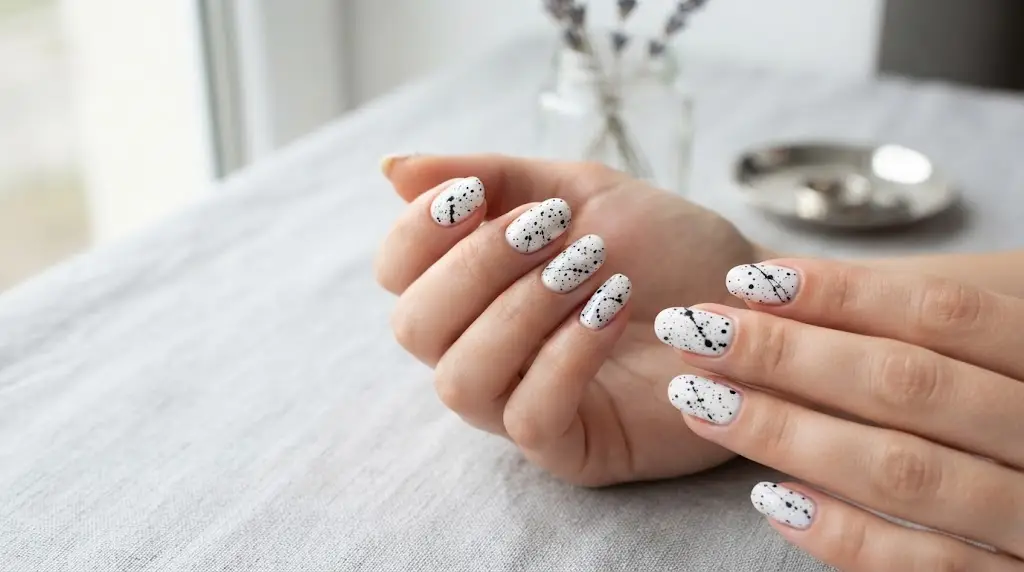
Random black drops on a white nail look like a painter’s canvas.
How to: Paint your nails white. Dip a brush in black polish and tap it with your finger a few inches above the nail so small drops fall. Cover your fingertips and skin with tape first.
Level: Easy | Best shape: Any
Piano Keys
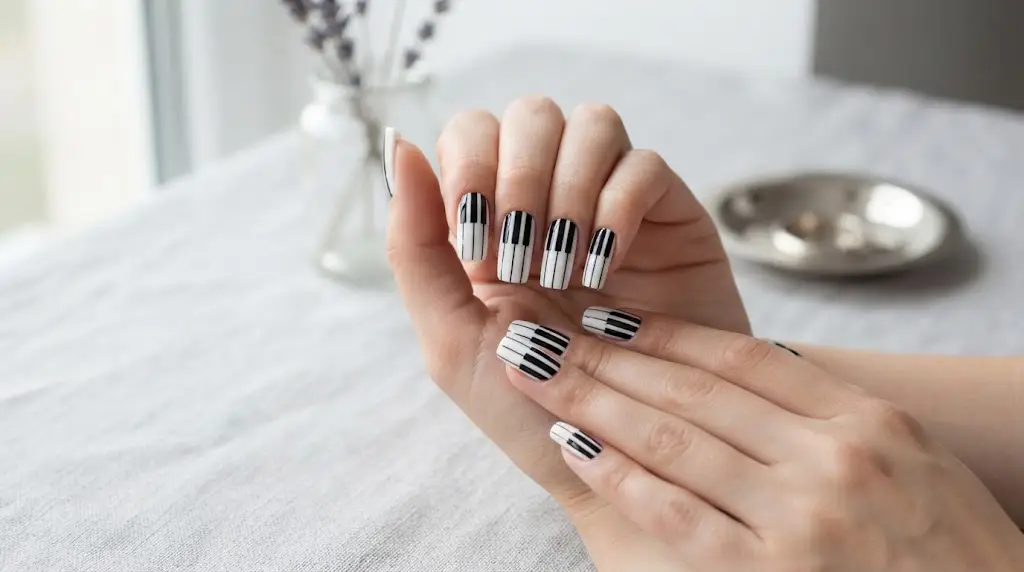
Straight lines make each nail look like a row of piano keys.
How to: Paint the nail white. Use tape to mark thin black vertical bars at even gaps. Add shorter black bars at the top between them to look like the black keys.
Level: Medium | Best shape: Square
Face Line Art
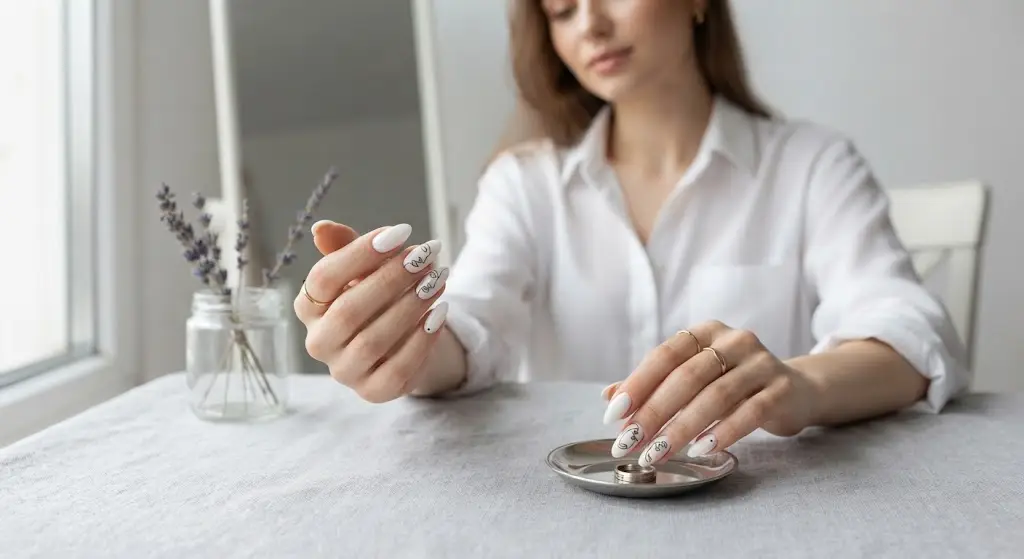
A single thin black line draws a face in profile on a white nail.
How to: Paint your nail white. Using a very fine brush, draw one flowing line that makes a nose, lips and chin. Keep it simple. Add a small black accent on one other nail.
Level: Hard | Best shape: Long almond
Buffalo Plaid
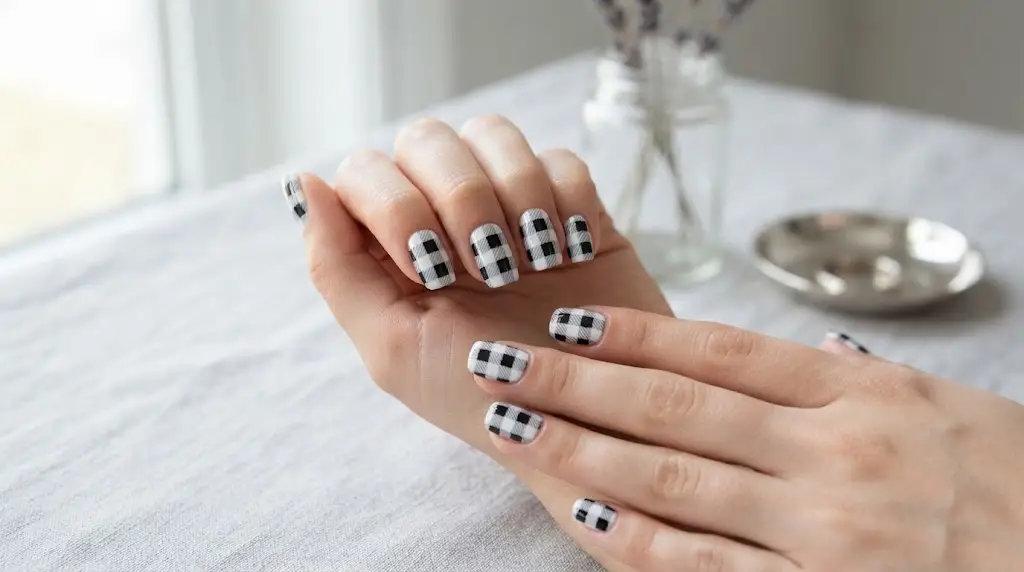
Cozy crisscross lines look like a flannel shirt, great for fall.
How to: Paint your nail white. Draw wide, light-gray stripes (mix a tiny bit of black into white) going one way. Then cross them with thin black lines the other way. Fill overlap squares with black.
Level: Hard | Best shape: Medium square
Reverse Arch Tips
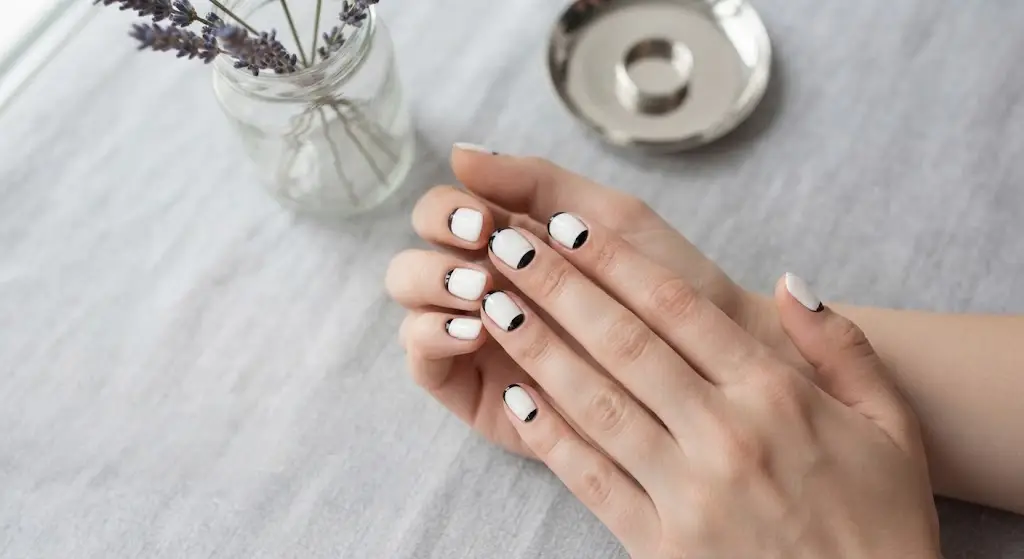
Instead of a flat tip line, you get a soft curved arch of black at the nail base.
How to: Paint the whole nail white. Use a curved sticker or a steady brush to paint a black arch at the cuticle. Add a thin white line inside the arch. Seal it well because edges can chip.
Level: Medium | Best shape: Short round
Skeleton Hand Bones
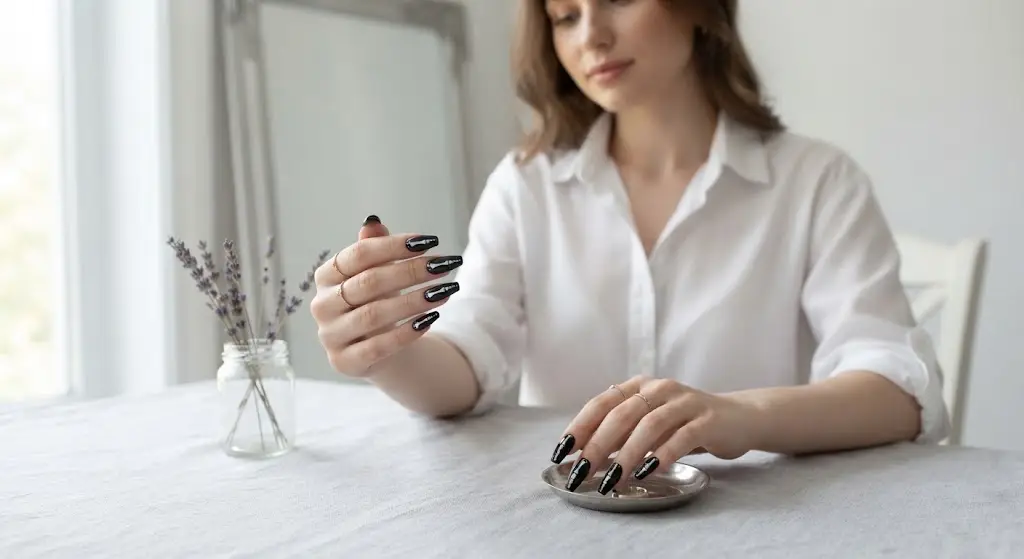
White bones on a black nail look spooky and super fun for fall.
How to: Paint your nail black. With a thin white brush, draw a long line down the center of each nail for a finger bone. Add small knuckle bumps at the top and bottom. Use a dotting tool to make the round ends.
Level: Medium | Best shape: Coffin
Diagonal Color Split
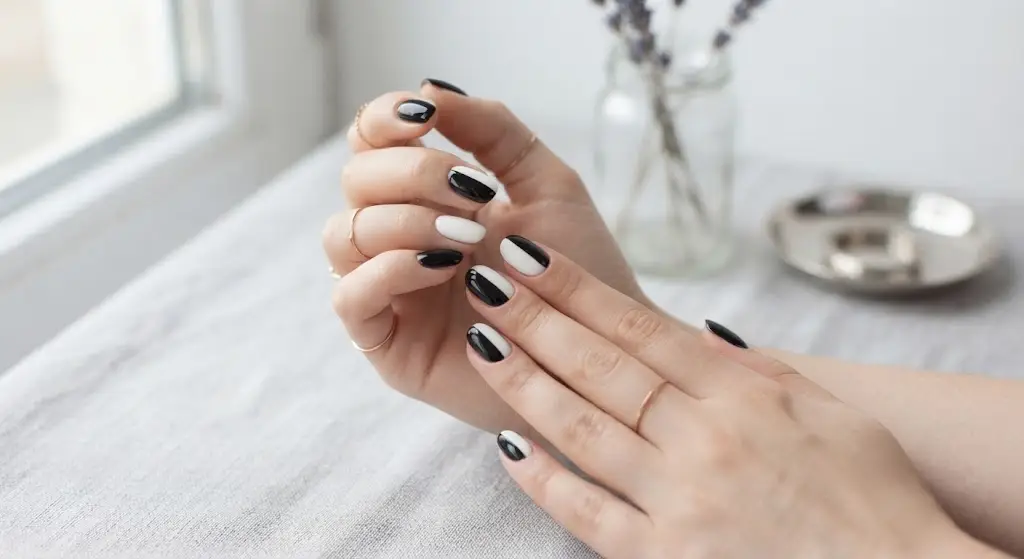
A clean slice cuts the nail in two, one half black and one half white.
How to: Place a strip of tape across the nail on a diagonal. Paint one side black. Peel the tape and let it dry. Paint the other side white. Add a tiny gold dot or leave it plain.
Level: Easy | Best shape: Any
Tuxedo Nails
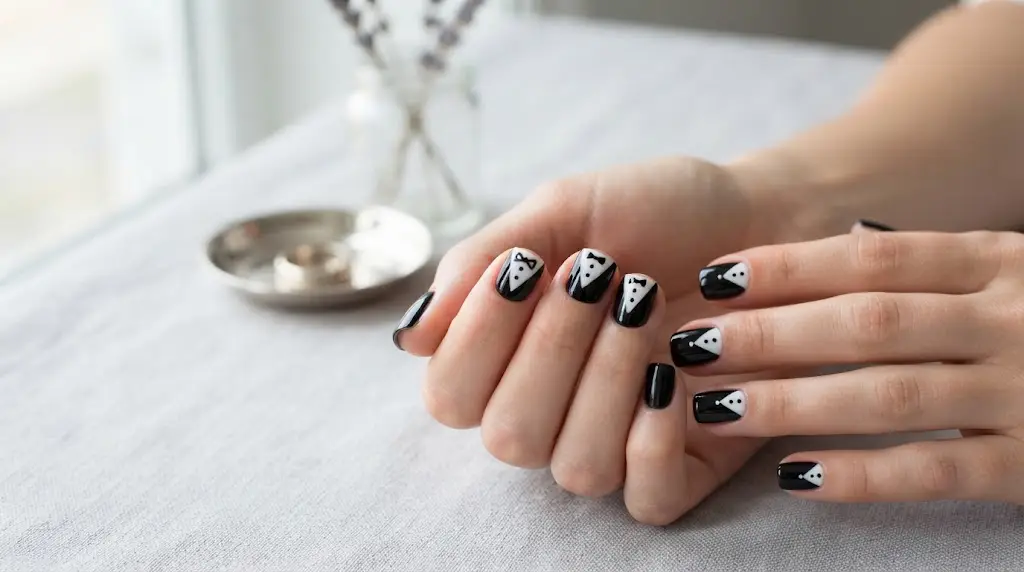
A black nail with a white V shape looks like a dressy suit, perfect for a night out.
How to: Paint the nail black. Use white polish to draw a V on the top half. Add two small white dots below it for buttons. A thin black bow tie can go on your thumb.
Level: Medium | Best shape: Short square
Friendly Ghosts

Cute white ghosts float on a black nail, making an easy Halloween look.
How to: Paint your nail black. With white polish, draw a rounded top with a wavy bottom. Add two tiny black dots for eyes with a dotting tool. Seal with a top coat.
Level: Easy | Best shape: Short or medium
18. Night Sky Stars
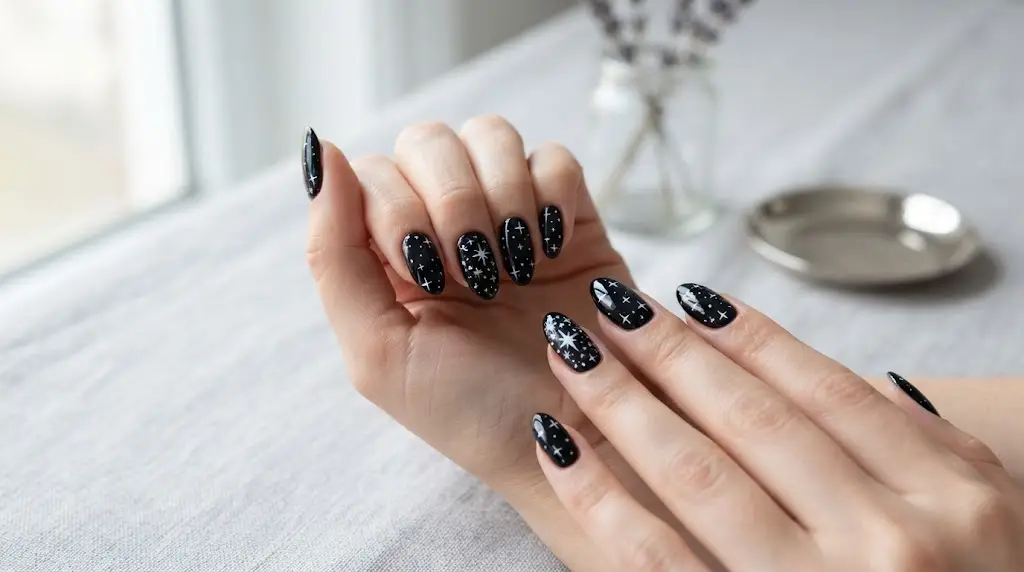
Tiny white stars and sparkls shine across a glossy black nail.
How to: Paint your nail black. Use a thin brush to make small plus signs and four-point stars. Add one or two bigger stars on your ring finger. Finish with a shiny top coat.
Level: Easy | Best shape: Almond
Lace Overlay

Delicate white lace lines on black give a fancy, wedding-night feel.
How to: Paint your nail black. Draw small scallop curves in rows with a thin white brush. Add tiny dots between the scallops. You can also press on a lace sticker and seal it.
Level: Hard | Best shape: Long almond
Chevron Zigzags
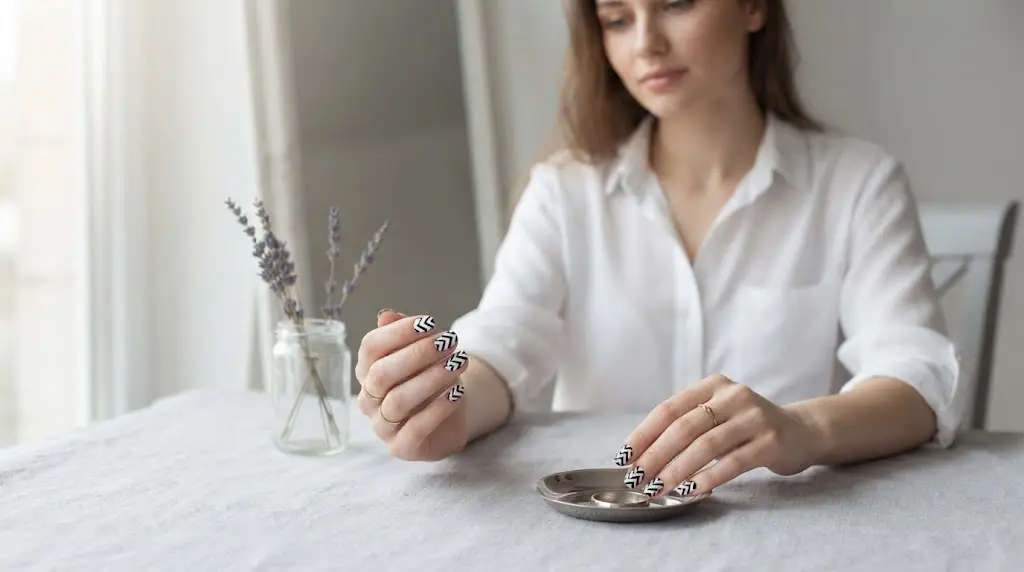
Bold V-shaped lines stack up across the nail for a clean graphic look.
How to: Paint your nail white. Lay tape in a V shape and paint the gap black. Repeat with more tape to make 2 or 3 black zigzags. Peel the tape while the polish is slightly wet.
Level: Medium | Best shape: Square
How to Make Black and White Nail Art Last Longer
- Prep well. Push back cuticles and wipe the nail with alcohol before the base coat.
- Thin coats win. Thick polish stays gummy and smudges. Use two thin coats and let each dry.
- Cap the free edge. Swipe each coat along the tip of the nail to stop chipping.
- Reapply top coat every 2 to 3 days to keep the shine and protect the design.
- Wear gloves when you wash dishes or clean.
For nails with a longer shape, check our long square cat eye nails for ideas on how a shape changes the look. In fall, you can mix in dark tones from our fall cat eye nails post. And if you want a white base with a bright shimmer, try white cat eye French tip nails.
Common Mistakes to Avoid
- Painting black first. It bleeds into white. Do white first.
- Using sheer white. A thin white looks streaky under black lines. Use a creamy, opaque white.
- Too much detail on short nails. Keep designs small and simple.
- Skipping top coat. Matte or glossy, seal your design or it will scratch.
Black and White Nail Art FAQ
What is black and white nail art?
Black and white nail art uses only black and white polish to create patterns, lines or shapes on your nails. Popular styles include checkerboard, stripes, marble and yin-yang.
Is black and white nail art easy to do at home?
Yes. Many designs, such as zebra stripes, cow print and ghosts, need only a thin brush and steady hands. Start with easy ones and move to harder ones like houndstooth when you feel ready.
How do I stop black polish from staining white polish?
Paint white first and let it dry for at least 5 minutes. Add black with a thin brush and seal with a top coat. Use a fresh brush for each color and clean mistakes with a small brush dipped in remover.
What tools do I need for black and white nail art?
You need black and white polish, a base coat, a top coat and a thin nail art brush. A dotting tool, striping tape and a small clean-up brush make the work easier.
What black and white nail designs work best on short nails?
Small, simple designs look best on short nails. Try crescent moons, piano keys, tiny stars, ghosts or a tuxedo design. Keep lines thin so the nail does not look crowded.
How long does black and white nail art last?
Regular polish usually lasts 5 to 7 days with a good top coat. Gel polish can last about 2 to 3 weeks. Wearing gloves for chores and adding a fresh top coat every few days helps it last longer.